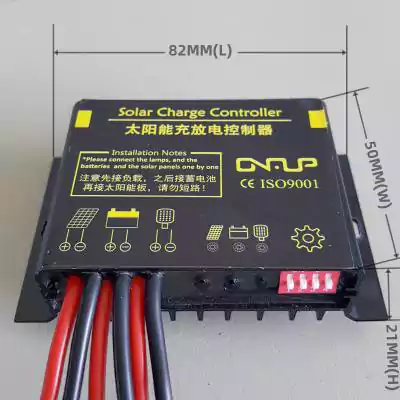
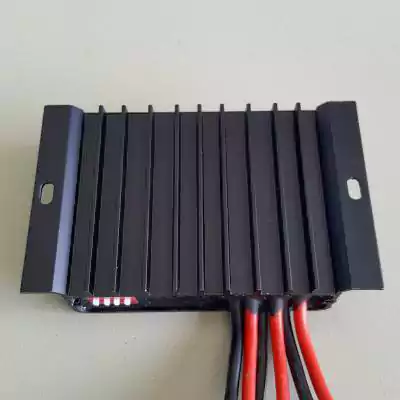
Product photographsClick to enlarge ↗
SOLAR POWER COMPONENTS
12V 10A Solar Charge Controller for Traffic Signal Systems
Compact solar charging control for a 12V battery system, with 10A rated charging current and a load output of up to 8A.
- Battery system
- 12V DC
- Rated charging current
- 10A
- Maximum load output
- ≤8A
- Model / product reference
- NJGQ-XHJ-CD-12V10A
Match the battery, solar panel and connected load before ordering.
Configuration at a glance
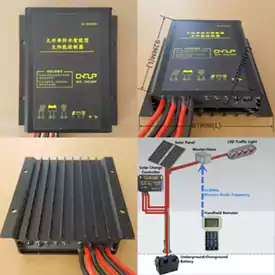
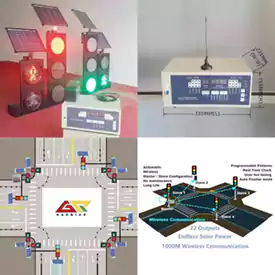
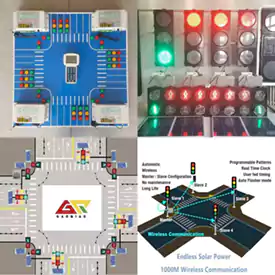
This component manages the charging and load connections in a solar-powered traffic signal installation. It connects the solar panel, battery and DC load; the traffic signal controller separately determines the signal sequence and timing.
Use it when assembling or replacing the charging section of a compatible 12V solar traffic signal system. Select the battery and panel together with the load schedule, rather than using the charging-current rating alone to estimate operating time.
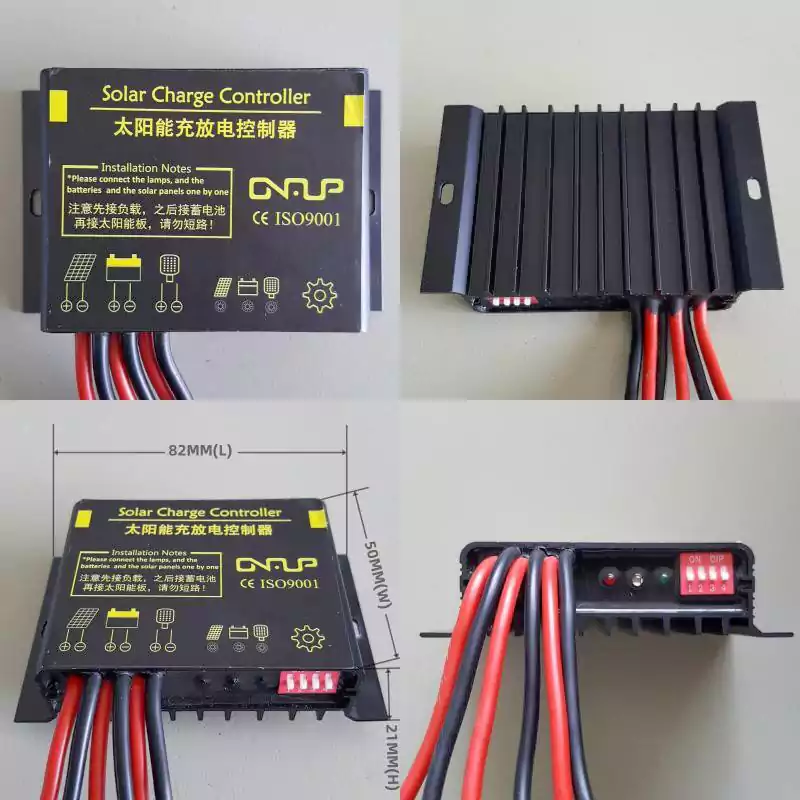
The compact aluminium alloy enclosure has a silicone-sealed construction and a grooved base. Allow space around the housing for the leads, mounting hardware and service access.
Product specifications
Charging current and load output are separate ratings.
Electrical data
| Battery system | 12V DC |
|---|---|
| Rated charging current | 10A |
| Maximum load output | ≤8A |
| Controller power consumption | Below 0.2W per unit |
| Connections | Solar panel, battery and load |
Housing & installation
| Model / product reference | NJGQ-XHJ-CD-12V10A |
|---|---|
| Housing material | Aluminium alloy |
| Dimensions | 82 × 50 × 21 mm |
| Weight | 0.15 kg |
| Ingress protection | IP65 |
| Sealing | Silicone seal with a grooved base |
Panel, battery and load connections
- Solar panel connection
- Connect a compatible PV panel. Confirm the permitted PV open-circuit voltage, input current and panel configuration for this model before selecting the panel.
- Battery connection
- Use a compatible 12V battery system. Confirm the battery chemistry, capacity and charging settings; a nominal voltage match alone does not establish battery compatibility.
- Load connection
- Connect the approved DC traffic equipment through the load circuit. Keep the total connected load within the 8A output limit and check startup demand as well as normal operating current.
The photographs identify the panel, battery and load connections. Use the wiring diagram and polarity markings supplied with the unit; do not determine terminal assignments from wire colour alone.
Selection & installation
- Confirm the component combinationProvide the battery data, panel electrical ratings and load schedule. Confirm charging settings, PV input limits and any low-voltage disconnection settings before integration.
- Plan the mounting and protectionCheck the available space against the housing dimensions and allow clearance for the cables. Select wiring and circuit protection for the approved system design and installation conditions.
- Connect using the supplied instructionsA qualified installer should isolate the relevant circuits, verify polarity and follow the connection sequence on the supplied unit and its wiring diagram.
- Check operation before deploymentCheck charging operation, load current and the connected traffic equipment through its required operating cycle. Record the settings and inspect the connections before commissioning.
Battery chemistry support, charging method, PV input limits and protection thresholds must be confirmed for the supplied version. Do not assume MPPT, automatic 24V operation or a specific battery type from the product name.
Frequently Asked Questions
Does the 10A charging rating mean the load output is also 10A?
No. The rated charging current is 10A, while the load output is limited to 8A. Check the charging circuit and load circuit separately when sizing the system.
Does this unit control the red, amber and green signal sequence?
It is the charging component of the power system. Signal phases and timing are handled by a separate compatible traffic signal controller.
What information is needed for a replacement?
Send photographs of the existing unit label and wiring, battery specifications, panel data, connected load and installation space. Confirm the supplied model, applicable certification documents and warranty terms with the quotation.
Plan the complete solar power system.
Send the product reference with these details:
- Battery chemistry and capacity
- Solar panel electrical data and installation location
- Connected load, daily operating hours and quantity